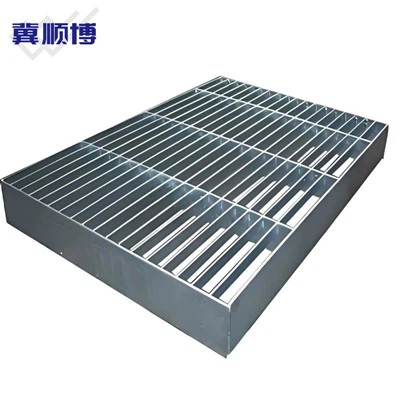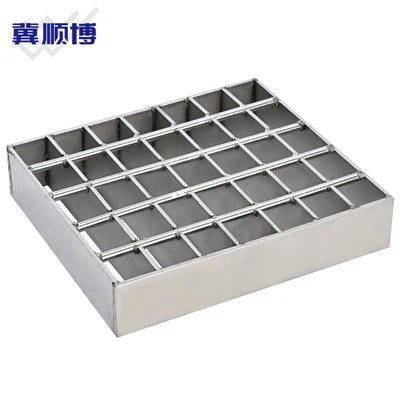

Installing plug grating on a bridge is a crucial task that requires careful planning, proper tools, and adherence to safety protocols. As a plug grating supplier, I've witnessed firsthand the importance of a well - installed grating system for bridge applications. In this blog, I'll guide you through the step - by - step process of installing plug grating on a bridge.
1. Planning and Preparation
Before you start the installation, it's essential to have a detailed plan in place. First, measure the area of the bridge where the plug grating will be installed. Accurate measurements ensure that you order the right amount and size of grating. Consider the load requirements of the bridge. Bridges have different traffic volumes and types of loads, such as pedestrian, vehicle, or heavy machinery. The plug grating you choose should be able to withstand these loads. You can refer to industry standards and engineering specifications for load - bearing capacities.
Next, select the appropriate type of plug grating. We offer a variety of plug grating options, including Serrated Steel Grating, which provides excellent slip resistance, and Rectangular Bar Steel Grating, known for its strength and durability. Of course, our Plug Grating itself is designed to be easy to install and maintain.


Gather all the necessary tools for the installation. These typically include a tape measure, a level, a drill, bolts, nuts, washers, and a cutting tool if you need to trim the grating to fit. Safety equipment is also a must, such as hard hats, safety glasses, and work gloves.
2. Surface Preparation
The surface of the bridge where the plug grating will be installed must be clean and free of debris, rust, and any other contaminants. Use a wire brush or a power washer to clean the surface thoroughly. If there are any uneven areas or bumps, you may need to grind them down to ensure a flat and smooth surface. A level surface is crucial for the proper installation of the grating and to prevent any future issues with stability.
After cleaning, check the surface for any signs of damage or weakness. If you find any structural problems, it's important to address them before proceeding with the grating installation. This may involve repairing or reinforcing the bridge structure.
3. Layout and Marking
Once the surface is prepared, it's time to lay out the plug grating. Start by placing the first panel at one end of the installation area. Use a tape measure to ensure that the grating is aligned correctly and evenly spaced. Mark the positions of the holes on the bridge surface where the bolts will be inserted. Make sure to follow the manufacturer's guidelines for bolt spacing and placement.
If you need to cut the grating to fit the shape of the bridge, use a cutting tool such as a saw. Be careful to make straight and accurate cuts. After cutting, smooth the edges of the grating to prevent any sharp points that could cause injury.
4. Installation of the Grating
Begin by placing the first panel of plug grating in position on the marked surface. Align the holes in the grating with the holes on the bridge surface. Insert the bolts through the holes and add washers and nuts. Tighten the nuts using a wrench, but be careful not to overtighten, as this could damage the grating or the bridge structure.
Continue installing the remaining panels one by one, following the same process. Make sure that each panel is properly aligned with the adjacent panels. You may need to use a level to ensure that the entire grating surface is flat and even.
If you are installing the grating in sections, use appropriate connectors to join the sections together. These connectors should be strong enough to hold the sections securely in place.
5. Quality Check
After the installation is complete, conduct a thorough quality check. Inspect the grating for any signs of damage, such as cracks or bent bars. Check the tightness of the bolts to ensure that they are secure. Walk on the grating to test its stability and make sure that it doesn't move or shift.
Measure the levelness of the grating surface. Any significant deviations from a flat surface could indicate a problem with the installation. If you find any issues, address them immediately. This may involve tightening bolts, realigning panels, or making minor repairs.
6. Maintenance Considerations
Proper maintenance is essential to ensure the long - term performance of the plug grating on the bridge. Regularly inspect the grating for signs of wear, corrosion, or damage. Clean the grating periodically to remove dirt, debris, and any other contaminants.
If you notice any corrosion, you can apply a protective coating to prevent further damage. Replace any damaged or worn - out panels as soon as possible to maintain the integrity of the grating system.
Contact for Purchase and Consultation
Installing plug grating on a bridge is a complex but rewarding process. If you are in the market for high - quality plug grating for your bridge project, we are here to help. Our team of experts can provide you with detailed information about our products, assist you in choosing the right type of grating for your specific needs, and offer guidance on the installation process.
Whether you have questions about load capacities, installation techniques, or maintenance, feel free to reach out to us. We are committed to providing you with the best solutions for your bridge grating requirements.
References
- Bridge Engineering Handbook, Second Edition, Edited by Wei - Fan Chen
- Steel Grating Design Manual, Published by the American Institute of Steel Construction