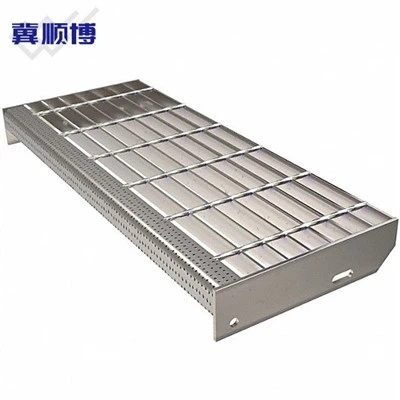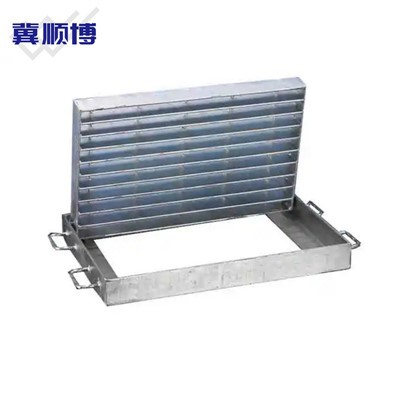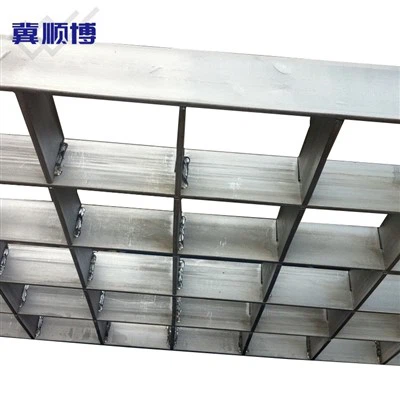

Light duty grating is a versatile and practical solution for various applications, including industrial platforms, walkways, and stair treads. As a leading supplier of light duty grating, we understand the importance of proper installation to ensure the safety and functionality of your project. In this blog post, we will guide you through the process of installing light duty grating, providing you with step-by-step instructions and useful tips.
Step 1: Planning and Preparation
Before you begin the installation process, it is crucial to plan and prepare adequately. Here are some key steps to consider:
- Measure the Area: Start by measuring the area where the light duty grating will be installed. This will help you determine the amount of grating required and ensure a proper fit.
- Choose the Right Grating: Select the appropriate type and size of light duty grating based on your specific needs and application. Consider factors such as load capacity, corrosion resistance, and aesthetics.
- Gather Tools and Materials: Collect all the necessary tools and materials for the installation, including a tape measure, level, drill, screws, and a wrench.
- Check for Obstructions: Inspect the installation area for any obstructions or obstacles that may interfere with the installation process. Remove any debris or objects that could pose a safety hazard.
Step 2: Surface Preparation
Proper surface preparation is essential for a successful installation. Follow these steps to prepare the surface:
- Clean the Surface: Thoroughly clean the surface where the light duty grating will be installed. Remove any dirt, grease, or debris using a wire brush or a pressure washer.
- Level the Surface: Use a level to ensure that the surface is flat and even. If the surface is uneven, you may need to use shims or a leveling compound to create a smooth and stable base.
- Mark the Installation Points: Use a tape measure and a marker to mark the installation points on the surface. This will help you align the grating accurately and ensure a proper fit.
Step 3: Installation of Support Structures
Light duty grating requires proper support structures to ensure its stability and durability. Here's how you can install the support structures:
- Install Support Frames: If your light duty grating requires support frames, install them according to the manufacturer's instructions. Make sure the frames are securely attached to the surface and level.
- Position the Grating: Carefully position the light duty grating on the support frames, aligning it with the installation points marked on the surface. Use a level to ensure that the grating is level and flush with the support frames.
- Secure the Grating: Once the grating is in position, secure it to the support frames using screws or other fasteners. Make sure the fasteners are tightened securely to prevent the grating from shifting or moving.
Step 4: Cutting and Fitting
In some cases, you may need to cut the light duty grating to fit the specific dimensions of your installation area. Here's how you can cut and fit the grating:
- Measure and Mark the Grating: Use a tape measure and a marker to measure and mark the cutting lines on the grating. Make sure the cutting lines are straight and accurate.
- Cut the Grating: Use a hacksaw, a power saw, or a plasma cutter to cut the grating along the marked lines. Make sure to wear appropriate safety gear, such as gloves and goggles, when cutting the grating.
- Fit the Grating: Once the grating is cut, carefully fit it into the installation area. Make any necessary adjustments to ensure a proper fit.
Step 5: Finishing Touches
After the light duty grating is installed, there are a few finishing touches you can add to enhance its appearance and functionality:
- Clean the Grating: Use a wire brush or a pressure washer to clean the grating and remove any debris or dirt. This will help maintain the appearance of the grating and prevent corrosion.
- Apply a Coating: If desired, you can apply a coating to the grating to protect it from corrosion and enhance its durability. Choose a coating that is suitable for the specific type of grating and the environment in which it will be installed.
- Inspect the Installation: Once the installation is complete, inspect the light duty grating to ensure that it is properly installed and functioning correctly. Check for any loose fasteners, gaps, or other issues that may need to be addressed.
Tips for a Successful Installation
Here are some additional tips to help you ensure a successful installation of light duty grating:
- Follow the Manufacturer's Instructions: Always follow the manufacturer's instructions and guidelines when installing light duty grating. This will help ensure that the grating is installed correctly and safely.
- Use the Right Tools and Materials: Make sure you use the right tools and materials for the installation. Using the wrong tools or materials can result in a poor installation and may compromise the safety and functionality of the grating.
- Take Your Time: Installing light duty grating requires patience and attention to detail. Take your time to ensure that each step of the installation process is done correctly.
- Seek Professional Help if Needed: If you are unsure about any aspect of the installation process, or if you encounter any difficulties, seek professional help. A qualified installer can provide you with the guidance and support you need to ensure a successful installation.
Conclusion
Installing light duty grating is a relatively straightforward process that can be completed with the right tools, materials, and knowledge. By following the steps outlined in this blog post and using the tips provided, you can ensure a successful installation of light duty grating for your project.
If you are in the market for high-quality light duty grating, look no further. As a leading supplier of light duty grating, we offer a wide range of products to meet your specific needs and requirements. Our Steel Bar Grating Stair Treads, Stainless Steel Walkway Grating, and Stainless Steel Open Grid Flooring are made from the highest quality materials and are designed to provide long-lasting performance and durability.
Contact us today to learn more about our light duty grating products and to discuss your specific project requirements. We look forward to working with you!


References
- Manufacturer's installation guides for light duty grating.
- Industry standards and best practices for grating installation.